

How Is A Simple Paper Cup Actually Made?
Leave a message
How Is a Simple Paper Cup Actually Made?
You see a simple paper cup every day. But this view overlooks the precise engineering that keeps hot coffee from spilling on you. Let's break it down.
A paper cup is made from three parts: a body, a bottom, and a rolled rim. It uses specialized paperboard with a waterproof coating and is assembled through a high-speed automated process.
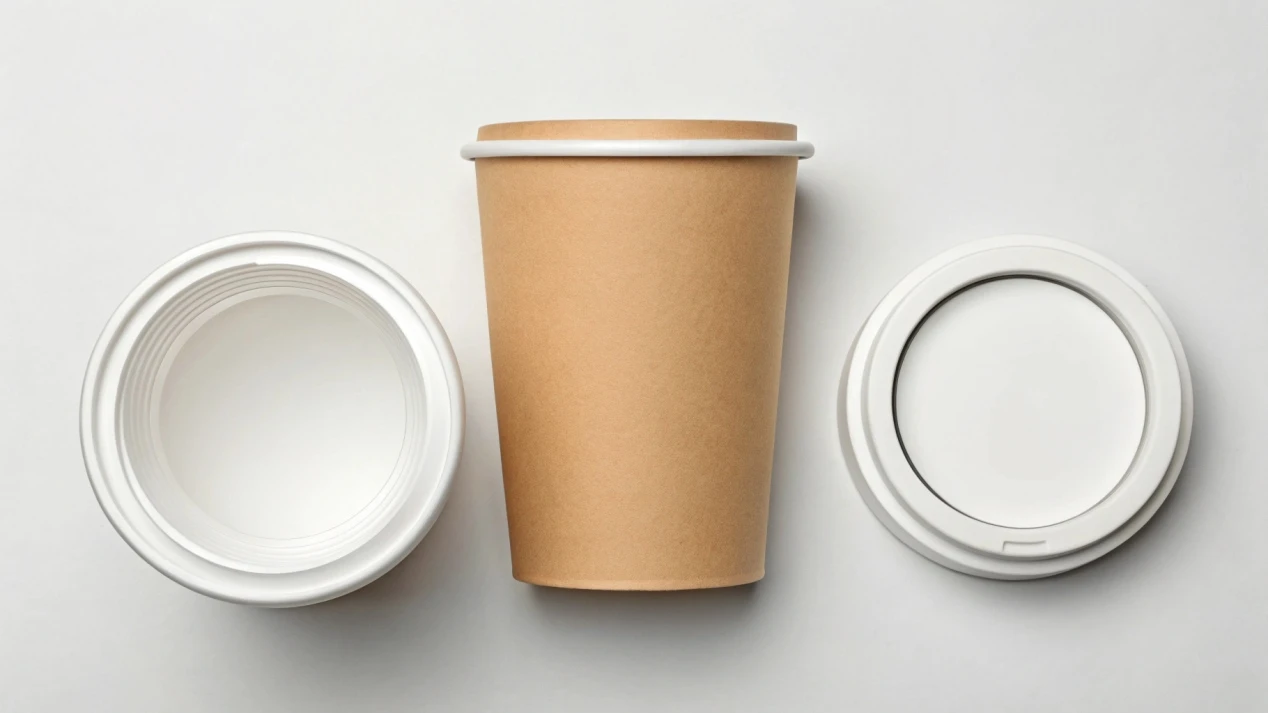
When I give clients a tour of my factory, they are always amazed by the speed of the machines. What looks like a blur of motion is actually a highly coordinated dance of mechanical parts. In the blink of an eye, a flat, printed piece of paper is grabbed, formed, sealed, and finished into the cup they recognize. They start to understand that this everyday object isn't so simple after all. It's a product of thoughtful design and powerful technology, and seeing it come to life changes the way they look at it forever.
What Are the Basic Parts of a Paper Cup?
A paper cup looks like a single, seamless piece. But its strength and leak-proof design come from three distinct parts working in perfect harmony to hold your drink safely.
Every paper cup consists of three main components: the conical body (wall), the circular bottom disc, and the tightly rolled rim. Each part is essential for the cup's structural integrity.
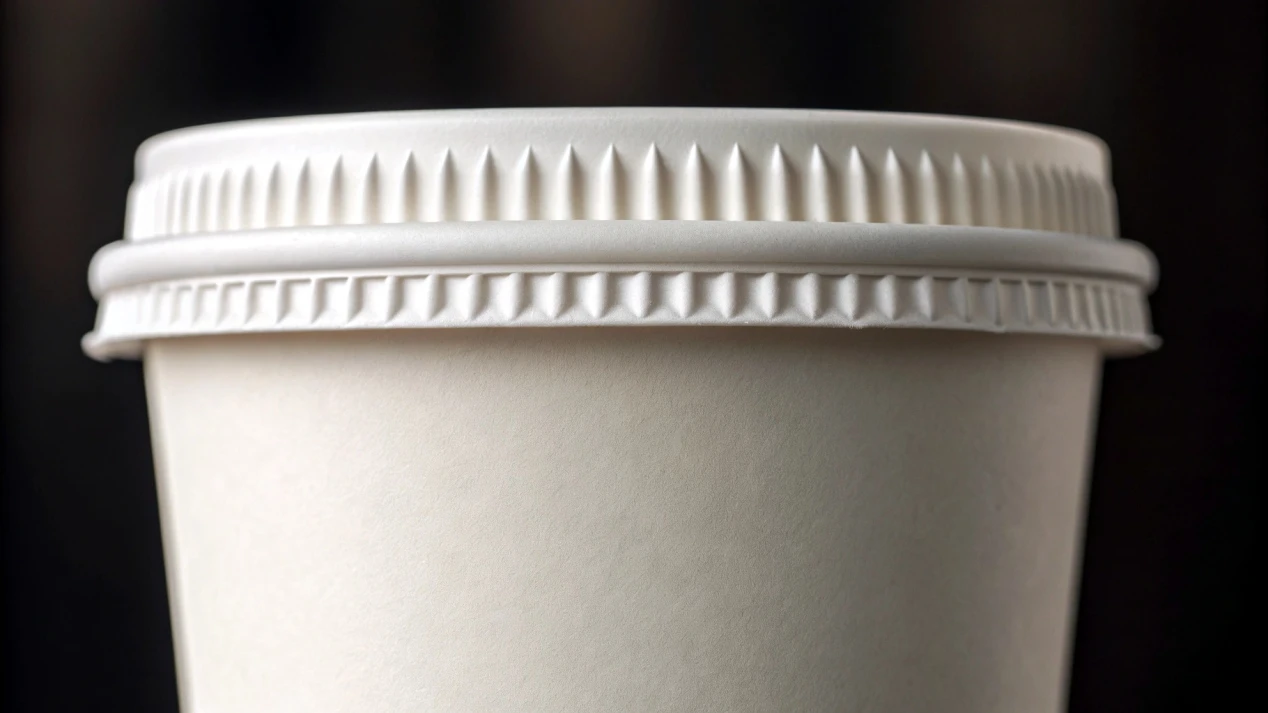
Think of a paper cup like a small, well-built structure. Each component has a specific job, and if one fails, the whole thing fails. As a manufacturer, my job is to ensure these three parts come together perfectly, millions of times over. The synergy between them is what allows you to confidently hand a customer a cup of boiling hot liquid without a second thought. It is a simple system, but it must be executed with absolute precision.
The Trio of Strength
Here's how the three parts work together to create a reliable product:
| Component | What It Is | Its Main Job |
|---|---|---|
| The Body/Wall | A cone-shaped wall made from a flat paperboard "blank". | This is the main structure that holds the liquid and provides a surface for branding. It can be single or double-walled for insulation. |
| The Bottom | A circular disc of paperboard sealed to the body's narrow end. | This provides a stable base and, most importantly, creates the leak-proof seal. The seal's strength is critical. |
| The Rim | The top edge of the wall, which is curled tightly outwards. | This reinforces the cup's opening, preventing it from collapsing when held or when a lid is applied. It also provides a smooth surface for drinking. |
Is It Just Made of Regular Paper?
You might think a cup is just thick, folded paper. But if you tried that, it would turn into a soggy mess almost instantly. The secret is in its special, layered material.
No, it's made from a specialized food-grade paperboard called "cup stock," which is laminated with a very thin waterproof polymer coating. This composite structure provides both strength and liquid resistance.
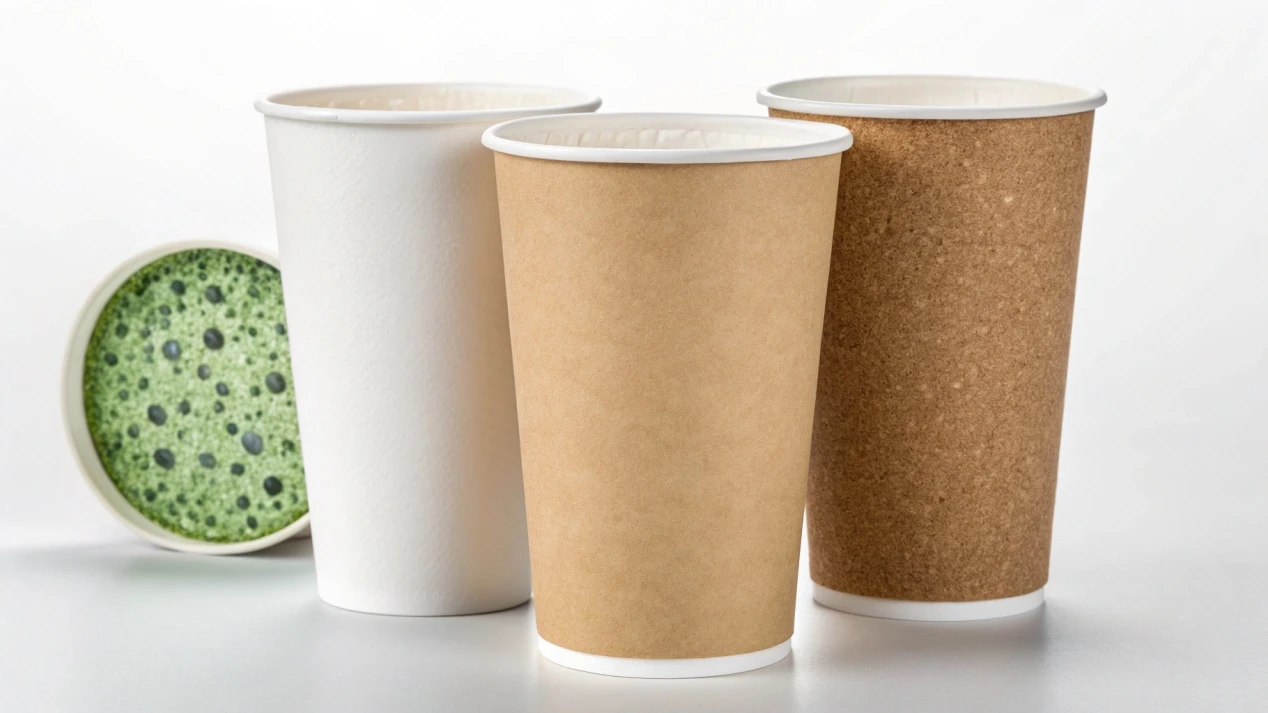
The term we use in the industry is "cup stock" or "cup paper," and it's fundamentally different from the paper in your printer. It has to be. The primary material is food-grade paperboard, which is almost always made from virgin wood pulp. Using virgin pulp isn't just about strength; it's about hygiene and safety. It ensures there are no contaminants from recycled materials. This paperboard is engineered to be stiff and strong, so the cup holds its shape.
Built in Layers for Performance
But paper loves to absorb water. To stop this, we laminate a very thin coating onto the paperboard. This waterproof barrier is the most critical part of the material. For hot coffee cups, this coating is applied to the inside to contain the drink. For cold soda cups, we often coat both sides. The inside coating holds the liquid, while the outside coating prevents condensation-the "sweat" on the outside of the cup-from making the paperboard weak. This two-part material system is what gives the cup its superpowers.
What Makes a Paper Cup Waterproof?
That waterproof barrier inside the cup is invisible. But the material used for it is a huge choice, affecting both cost and how eco-friendly the cup really is.
A cup is made waterproof by a coating. The most common types are PE (traditional plastic), PLA (a compostable bioplastic), and newer water-based coatings that make the cup easily recyclable.
The choice of coating is one of the most important conversations I have with my clients. It affects the cup's performance, its price, and its end-of-life story. For years, PE plastic was the only real option because it's cheap and seals perfectly. But as brands and consumers have become more environmentally aware, the demand for better alternatives has grown. We now have fantastic, innovative options that can meet almost any sustainability goal.
The Waterproofing Secret
Here is a simple guide to the main coating types we use today:
| Coating Type | What It Is | Environmental Impact |
|---|---|---|
| PE (Polyethylene) | A petroleum-based plastic film. | The traditional standard. Very effective but difficult to recycle and not biodegradable. Low cost. |
| PLA (Polylactic Acid) | A bioplastic made from renewable resources like corn starch. | Commercially compostable. A great eco-friendly choice, but requires specific industrial facilities to break down. |
| Aqueous (Water-Based) | An innovative liquid dispersion that dries into a barrier. | The newest green tech. It allows the entire cup to be recycled in standard paper streams, as there is no plastic film to separate. |
How Does a Flat Piece of Paper Become a Cup?
It seems almost like magic. How can a flat piece of paper instantly become a strong, perfectly formed cup? It's a high-speed process of incredible precision and automation.
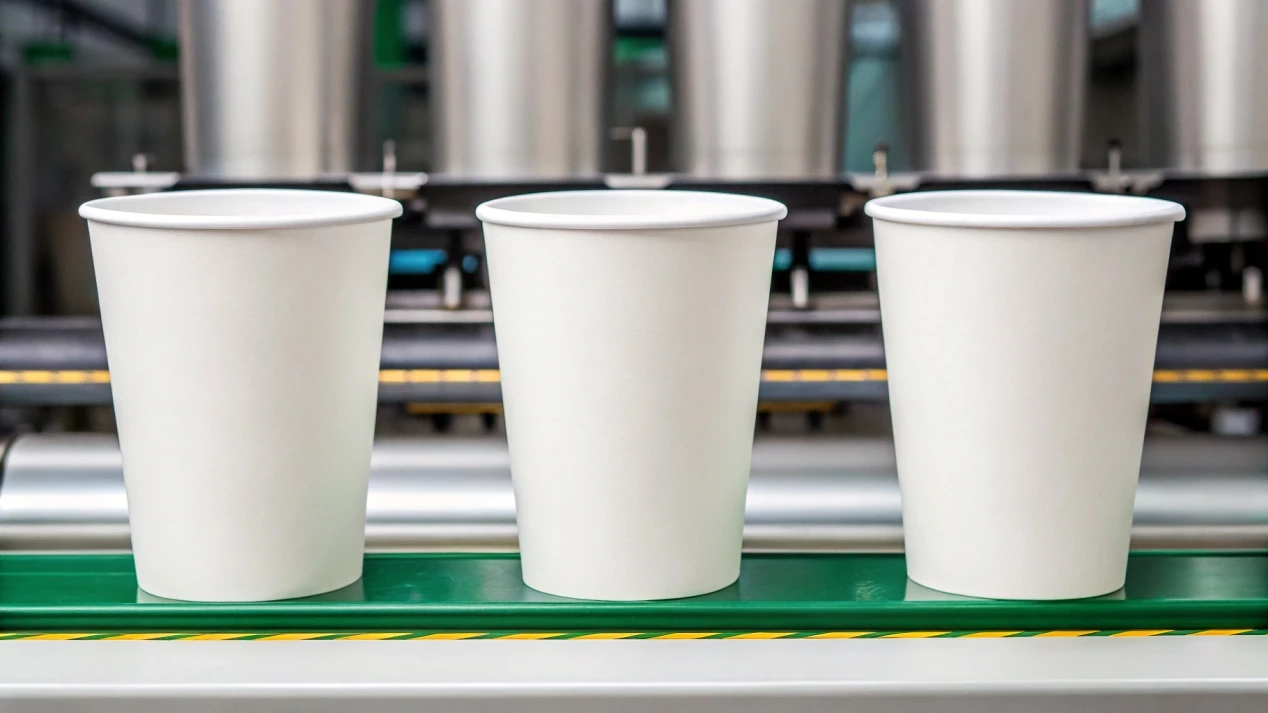
First, fan-shaped cup "blanks" are printed and cut. Then, a machine wraps the blank around a mold, heat-seals the side, attaches and seals the bottom, and finally curls the rim.
This is the part that fascinates everyone on a factory tour. The entire process is a symphony of automation.
Printing & Cutting: It all starts with your design. We print your logo and branding onto massive rolls of coated paperboard. A die-cutting machine then punches out thousands of flat, fan-shaped pieces called "blanks."
Wall Forming: A machine picks up a single blank and wraps it around a cone-shaped steel mold called a mandrel. The two edges of the blank overlap and are fused together instantly using high heat or ultrasonic vibrations to create the cup's body.
Bottom Sealing: At the same time, another machine punches out circular discs for the bottom from a different roll of paperboard. The cone-shaped body is dropped onto a bottom disc. The machine then heats, folds, and presses the bottom edge of the wall against the disc in a process we call knurling. This creates the strong, leak-proof seal.
Rim Curling: The cup moves to the next station, where the top edge is lubricated and then mechanically rolled over and compressed to form that smooth, sturdy rim.
Inspection & Packing: Finally, the cups shoot out of the machine and pass through an automated inspection, often using cameras, to check for any defects before being automatically stacked, bagged, and boxed for shipping.
Conclusion
The humble paper cup is a product of clever engineering. Each part, layer, and process ensures it works perfectly, from our factory to your customer's hand.


